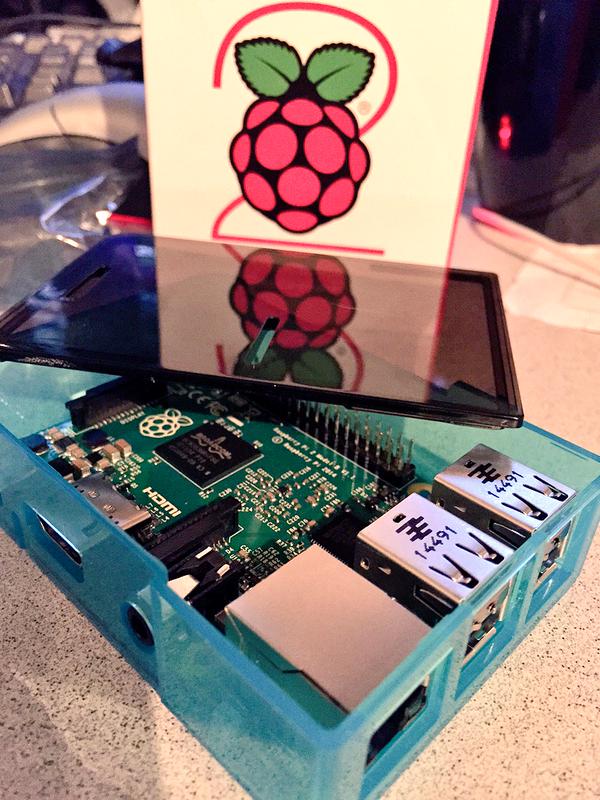
Raspberry Pi VPC IoT Tutorial: Your Ultimate Guide To Building A Cloud-Connected Project
Imagine turning your Raspberry Pi into a powerful IoT device that communicates seamlessly with Amazon's Virtual Private Cloud (VPC). Sounds like a dream? Well, it's closer than you think! In this Raspberry Pi VPC IoT tutorial, we'll walk you through the entire process step by step, making it super easy for even beginners to follow along. Whether you're a hobbyist or a tech enthusiast, this guide will equip you with the knowledge to create your own cloud-connected projects.
This isn't just another Raspberry Pi tutorial. We're diving deep into the world of IoT and cloud computing, showing you how to integrate Raspberry Pi with VPC. Why? Because combining these technologies opens up endless possibilities for smart home automation, data collection, and remote monitoring. Stick around, and we'll show you why this is a game-changer!
Now, before we get started, let's clarify something. This Raspberry Pi VPC IoT tutorial assumes you have basic knowledge of Raspberry Pi and AWS. Don't worry if you're new to this stuff—we'll explain everything in simple terms. By the end of this guide, you'll be confident enough to tackle your own projects. So grab your Raspberry Pi, pour yourself a coffee, and let's dive in!
What is Raspberry Pi VPC IoT and Why Should You Care?
Alright, let's break it down. Raspberry Pi is more than just a tiny computer—it's a powerhouse for innovation. When you connect it to AWS VPC, you're essentially giving your project superpowers. VPC stands for Virtual Private Cloud, which is a secure and isolated section of the AWS Cloud. By setting up your Raspberry Pi within a VPC, you ensure that your IoT devices can communicate safely and efficiently.
Here's why this matters: IoT projects often require real-time data processing and secure communication. With Raspberry Pi VPC IoT integration, you can achieve both. Plus, you'll save costs by leveraging cloud computing instead of investing in expensive hardware. It's like having your own mini data center at home!
And guess what? This setup is perfect for both personal and professional projects. Whether you're building a smart thermostat or monitoring environmental conditions for a business, Raspberry Pi VPC IoT is your solution. Let's explore how it works.
Setting Up Your Raspberry Pi for VPC IoT
Before we jump into configuring VPC, let's make sure your Raspberry Pi is ready to roll. Here's what you need to do:
- Install the latest version of Raspberry Pi OS on your device.
- Connect your Raspberry Pi to the internet via Ethernet or Wi-Fi.
- Update your system by running
sudo apt update && sudo apt upgrade. - Install necessary packages like Python and pip, which we'll use later for scripting.
These steps might sound technical, but trust me, they're straightforward. If you're new to Raspberry Pi, there are tons of beginner-friendly guides online to help you set it up. Once your Pi is ready, we can move on to the exciting part—connecting it to AWS VPC.
Understanding AWS VPC Basics
So, what exactly is AWS VPC, and why is it important for Raspberry Pi IoT projects? Think of VPC as a virtual network where you can launch AWS resources. It's like creating your own private internet within the AWS Cloud. By placing your Raspberry Pi inside a VPC, you gain several advantages:
- Enhanced security through network isolation.
- Control over IP addresses and subnets.
- Ability to set up custom routing tables and network gateways.
For IoT projects, this means you can manage multiple devices securely without exposing them to the public internet. It's a win-win situation!
Connecting Raspberry Pi to AWS VPC
Now comes the fun part—connecting your Raspberry Pi to AWS VPC. Here's a step-by-step guide to help you through the process:
- Create an AWS account if you don't have one already.
- Log in to the AWS Management Console and navigate to the VPC dashboard.
- Create a new VPC and configure its settings according to your project requirements.
- Launch an EC2 instance within the VPC to act as a gateway for your Raspberry Pi.
- Set up SSH access from your Raspberry Pi to the EC2 instance.
These steps might seem overwhelming at first, but with practice, they'll become second nature. The key is to take it one step at a time and refer to AWS documentation whenever you're unsure. Don't hesitate to reach out to online communities if you encounter any issues—they're full of helpful people!
Configuring Security Groups for Raspberry Pi VPC IoT
Security is crucial when working with IoT devices. That's why configuring security groups in AWS VPC is essential. Security groups act as virtual firewalls, controlling inbound and outbound traffic to your Raspberry Pi. Here's how to set them up:
- Create a new security group in the VPC dashboard.
- Define rules to allow specific ports and IP addresses.
- Assign the security group to your EC2 instance and Raspberry Pi.
By doing this, you ensure that only authorized devices can communicate with your Raspberry Pi. It's like putting a lock on your digital front door—necessary for keeping intruders out!
Writing Python Scripts for Raspberry Pi VPC IoT
Python is the go-to language for Raspberry Pi projects, and it's no different when working with VPC IoT. With Python, you can write scripts to automate tasks, process data, and communicate with AWS services. Here's an example of a simple Python script that sends data from Raspberry Pi to AWS:
First, install the AWS SDK for Python (Boto3) by running pip install boto3. Then, use the following code snippet:
import boto3
client = boto3.client('ec2')
response = client.describe_instances()
print(response)
This script connects to your AWS account and retrieves information about EC2 instances. You can modify it to send data from sensors connected to your Raspberry Pi or trigger actions based on specific conditions. The possibilities are endless!
Optimizing Raspberry Pi VPC IoT Performance
Performance optimization is key to ensuring your Raspberry Pi VPC IoT project runs smoothly. Here are some tips to help you achieve that:
- Use lightweight libraries and frameworks to reduce resource consumption.
- Optimize your Python scripts for speed and efficiency.
- Monitor resource usage on both Raspberry Pi and AWS VPC to identify bottlenecks.
Remember, even the best setup can falter if not properly maintained. Regularly update your software, check logs for errors, and tweak settings as needed. It's all part of being a responsible IoT developer!
Common Challenges and How to Overcome Them
Every Raspberry Pi VPC IoT project comes with its own set of challenges. Here are some common issues you might face and how to solve them:
- Connection Problems: Ensure your Raspberry Pi has stable internet access and correct SSH configurations.
- Security Concerns: Double-check your security group rules and use strong passwords for all accounts.
- Resource Limitations: Optimize your scripts and consider upgrading your Raspberry Pi model if needed.
Don't let these challenges discourage you. Every great developer started as a beginner, and with persistence, you'll overcome any obstacle. Just keep experimenting and learning!
Troubleshooting Tips for Raspberry Pi VPC IoT
When things go wrong—and they will—you need a solid troubleshooting strategy. Here's what you can do:
- Check AWS CloudWatch logs for error messages.
- Verify network settings on both Raspberry Pi and VPC.
- Test individual components to isolate the problem.
By following these steps, you'll quickly identify and resolve most issues. And hey, troubleshooting is half the fun of working with IoT projects!
Real-World Applications of Raspberry Pi VPC IoT
Now that you know how to set up Raspberry Pi VPC IoT, let's explore some real-world applications:
- Smart Home Automation: Control lights, thermostats, and security systems remotely using VPC.
- Environmental Monitoring: Collect data from sensors to track air quality, temperature, and humidity.
- Industrial IoT: Monitor machinery performance and predict maintenance needs with cloud analytics.
These examples barely scratch the surface of what's possible with Raspberry Pi VPC IoT. The only limit is your imagination!
Case Study: Building a Weather Station with Raspberry Pi VPC IoT
Let's dive into a practical example. Imagine building a weather station using Raspberry Pi and VPC. Here's how you'd do it:
- Connect weather sensors to your Raspberry Pi.
- Write a Python script to collect and process sensor data.
- Send the processed data to AWS VPC for storage and analysis.
- Visualize the data using AWS services like QuickSight or CloudWatch.
With this setup, you can monitor weather conditions in real-time and even share the data with others. It's a fantastic project for anyone interested in IoT and environmental science!
Conclusion: Take Action and Start Building
We've covered a lot in this Raspberry Pi VPC IoT tutorial, from setting up your Raspberry Pi to connecting it with AWS VPC and writing Python scripts. By now, you should have a solid understanding of how to create your own cloud-connected IoT projects. But knowledge without action is useless, so here's what you need to do next:
- Set up your Raspberry Pi and AWS VPC environment.
- Experiment with different Python scripts and configurations.
- Join online communities to share your progress and learn from others.
Remember, the best way to master Raspberry Pi VPC IoT is by doing. So don't wait—grab your Raspberry Pi and start building today! And if you found this tutorial helpful, don't forget to leave a comment or share it with your friends. Happy tinkering!
Table of Contents
- What is Raspberry Pi VPC IoT and Why Should You Care?
- Setting Up Your Raspberry Pi for VPC IoT
- Understanding AWS VPC Basics
- Connecting Raspberry Pi to AWS VPC
- Configuring Security Groups for Raspberry Pi VPC IoT
- Writing Python Scripts for Raspberry Pi VPC IoT
- Optimizing Raspberry Pi VPC IoT Performance
- Common Challenges and How to Overcome Them
- Troubleshooting Tips for Raspberry Pi VPC IoT
- Real-World Applications of Raspberry Pi VPC IoT


. Sounds like a dream? Well, )