How To Install Sconces: A Comprehensive Guide For Your Walls
Do you want to transform your walls with sconces but feel intimidated by the process? Well, take a deep breath because installing sconces is easier than you think. Whether you're aiming for a modern aesthetic or a classic touch, wall sconces can elevate any room. In this guide, we'll walk you through everything you need to know about how to install sconces like a pro.
Let’s face it, sconces are not just about lighting; they’re statement pieces that add character and style to your space. If you're considering how to install sconces, you're in the right place. This guide will break down the process step by step so you can confidently tackle this DIY project.
From choosing the right sconces to ensuring safety during installation, we've got you covered. So, grab your tools, and let's dive into the world of wall sconces. Who knows? By the end of this, you might just become the neighborhood sconce expert!
Table of Contents
- Why Choose Wall Sconces?
- Tools You'll Need to Install Sconces
- Step-by-Step Guide to Install Sconces
- Wiring Tips for Beginners
- Common Mistakes to Avoid
- Creative Design Ideas with Sconces
- Maintaining Your Sconces
- Troubleshooting Tips
- Cost Factor and Budgeting
- Final Thoughts
Why Choose Wall Sconces?
Wall sconces are more than just lighting fixtures. They’re a way to enhance the ambiance of your home while adding a touch of elegance. If you're wondering why you should bother learning how to install sconces, here are some reasons:
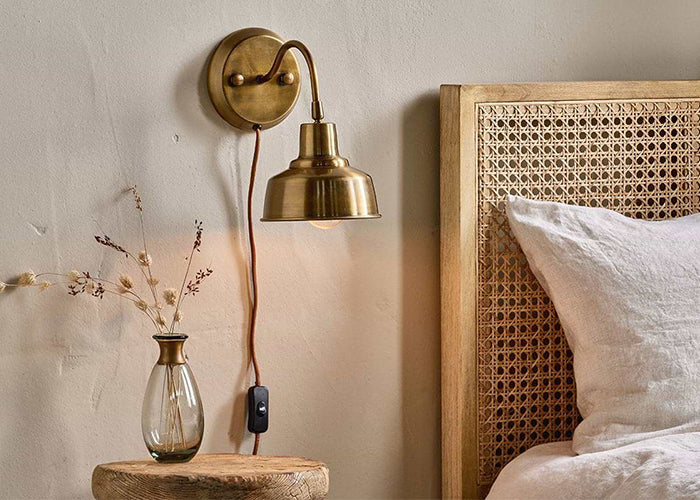
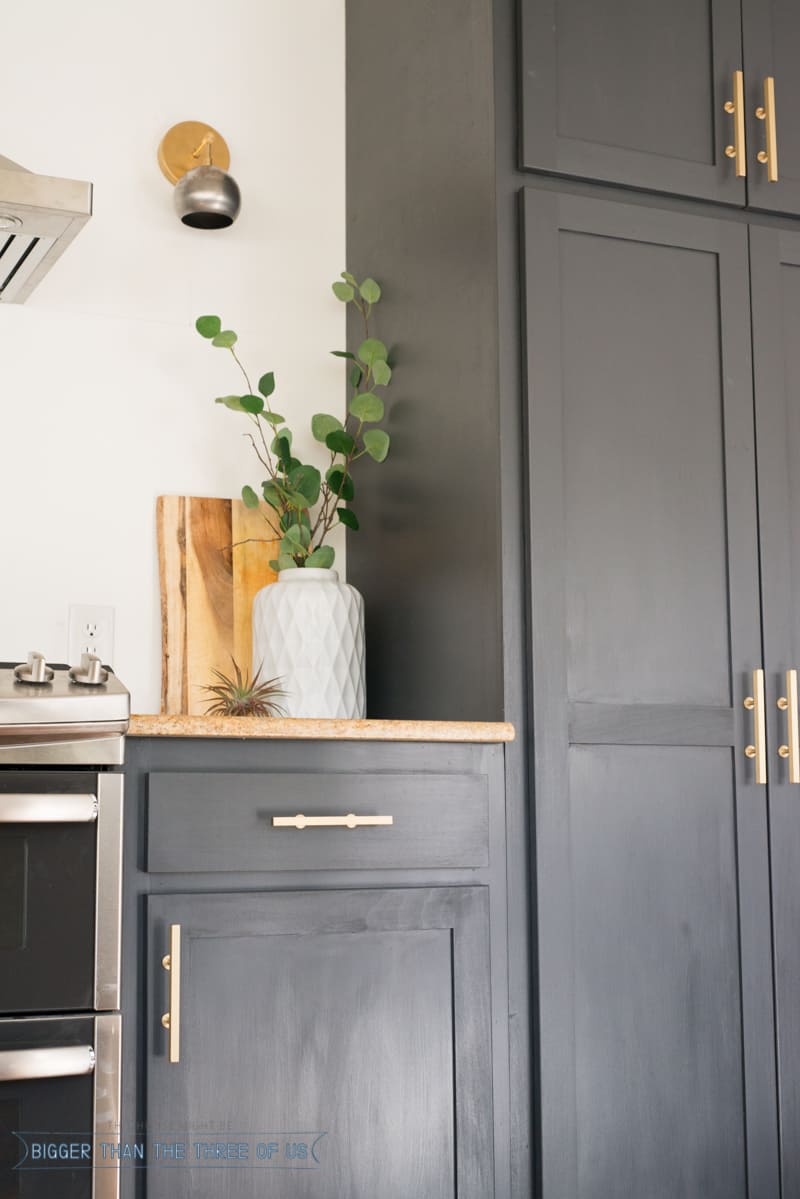
First off, sconces are versatile. You can use them in almost any room—bedrooms, living rooms, bathrooms, or even hallways. They provide soft, ambient lighting that’s perfect for creating cozy atmospheres. Plus, they free up floor space since they’re mounted on the wall.
Another cool thing about sconces? They come in so many styles. From sleek and modern designs to intricate, vintage-inspired pieces, there’s something for everyone. And let’s not forget the energy efficiency aspect. Many sconces today are designed with LED bulbs, which save you money in the long run.
Benefits of Wall Sconces
- Enhances room aesthetics
- Provides versatile lighting options
- Saves floor space
- Energy-efficient
- Easy to install with the right tools
Tools You'll Need to Install Sconces
Before we jump into the installation process, it’s essential to gather all the necessary tools. Trust me, having everything ready will make the job smoother and faster. Here’s what you’ll need:
- Drill – For mounting the sconces onto the wall.
- Screwdriver – Both flathead and Phillips, depending on the sconce design.
- Wire strippers – To safely strip the wires if you’re doing electrical work.
- Voltage tester – Always double-check that the power is off before starting.
- Measuring tape
- Level – Ensures the sconces are perfectly aligned.
- Wire nuts – For connecting and securing the wires.
Don’t forget to wear safety goggles and gloves. Safety first, folks!
Step-by-Step Guide to Install Sconces
Now that you’ve got your tools ready, let’s dive into the actual installation process. Follow these steps carefully, and you’ll have your sconces up in no time.
Step 1: Choose the Right Location
Decide where you want to place your sconces. Keep in mind the height and spacing. A good rule of thumb is to install them about 60-66 inches from the floor. If you’re placing them above a piece of furniture, ensure they’re high enough not to obstruct the view.
Step 2: Turn Off the Power
Before touching any electrical components, switch off the power at the circuit breaker. Use a voltage tester to confirm there’s no current running through the wires. Safety should always be your top priority.
Step 3: Mount the Sconces
Once the location is marked, use your drill to secure the mounting bracket to the wall. Make sure it’s level before tightening the screws. If you’re dealing with heavy sconces, consider using wall anchors for extra support.
Step 4: Connect the Wires
This is where things get a little technical. Strip the wires carefully using wire strippers. Connect the white wire (neutral) to the white wire on the sconce, the black wire (hot) to the black wire, and the green or bare wire (ground) to the ground wire. Secure them with wire nuts and tuck them neatly into the box.
Step 5: Attach the Sconce
With the wiring done, attach the sconce to the mounting bracket. Tighten the screws securely but avoid overtightening, which could damage the fixture. Double-check that everything is connected properly before turning the power back on.
Wiring Tips for Beginners
If you’re new to electrical work, don’t worry. Here are some tips to help you navigate the wiring process:
Always start by ensuring the power is off. A small mistake can lead to serious consequences. If you’re unsure about any step, it’s okay to call in a professional. Your safety is worth the extra cost.
Another tip is to take clear photos of the wiring setup before disconnecting anything. This will serve as a reference when reconnecting the wires. And remember, patience is key. Take your time and double-check every connection.
Common Mistakes to Avoid
Even the best of us make mistakes. Here are some common pitfalls to watch out for when installing sconces:
- Forgetting to turn off the power – This is a big no-no. Always confirm the power is off before starting.
- Not using a level – Uneven sconces can ruin the look of your room. Always use a level to ensure symmetry.
- Over-tightening screws – This can damage the fixture or the wall. Tighten securely but gently.
- Ignoring wire colors – Each color has a specific purpose. Mixing them up can lead to electrical issues.
By avoiding these mistakes, you’ll have a smoother installation process.
Creative Design Ideas with Sconces
Once your sconces are installed, it’s time to get creative with your design. Here are some ideas to inspire you:
Try grouping sconces in pairs or clusters for a dramatic effect. This works especially well in hallways or above a fireplace. Another idea is to mix and match different styles of sconces in the same room for a eclectic look.
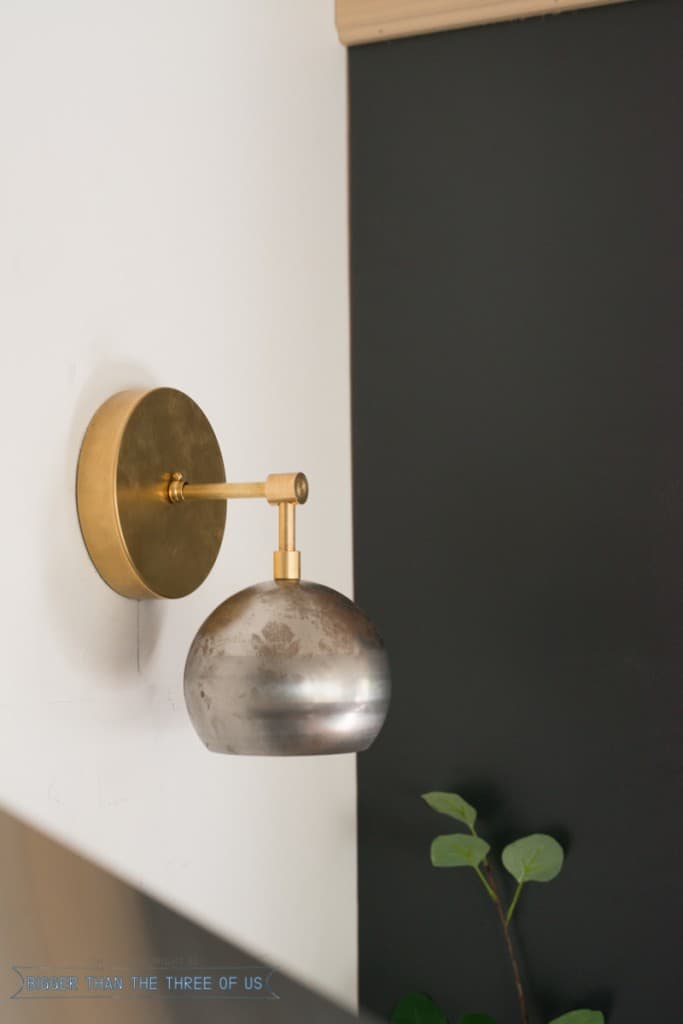
Don’t forget to consider the color and finish of your sconces. Metallic finishes like gold or brass can add a touch of luxury, while matte black or white can create a minimalist vibe.
Maintaining Your Sconces
Proper maintenance will keep your sconces looking great for years to come. Regularly dust the fixtures to prevent buildup. If they’re in a humid area like the bathroom, wipe them down with a damp cloth to remove moisture.
Check the bulbs periodically and replace them as needed. LED bulbs last longer, but they still have a lifespan. And if you notice any flickering or dimming, it might be time to inspect the wiring or consult a professional.
Troubleshooting Tips
Even with careful installation, issues can arise. Here are some common problems and how to fix them:
- Sconce won’t turn on – Check the bulb and ensure it’s screwed in properly. Also, verify that the circuit breaker hasn’t tripped.
- Flickering light – This could indicate a loose connection. Turn off the power and recheck all wiring connections.
- Dim lighting – Ensure the bulb wattage matches the fixture’s requirements. Using a lower wattage bulb can result in dim light.
If troubleshooting doesn’t solve the issue, it’s best to consult a professional electrician.
Cost Factor and Budgeting
When planning to install sconces, it’s important to consider the cost. Prices can vary greatly depending on the brand, style, and materials. On average, you can expect to spend anywhere from $20 to $200 per sconce.
Factor in the cost of tools if you don’t already own them. And if you’re not comfortable with electrical work, budget for hiring a professional. Remember, quality is worth the investment. Cheaper fixtures might not last as long or provide the same level of performance.
Final Thoughts
Learning how to install sconces can be a rewarding DIY project that adds value to your home. By following this guide, you’ll be able to tackle the installation with confidence. Remember to prioritize safety, take your time, and enjoy the process.
Now that your walls are lit up with beautiful sconces, share your experience with us. Leave a comment below or tag us on social media. And if you found this guide helpful, don’t hesitate to share it with your friends. Happy decorating!
