Unlocking The Power Of Remote IoT Platforms: SSH Key Management For Raspberry Pi (Free Guide)
Hey there, tech enthusiasts! If you're diving into the world of Internet of Things (IoT) and exploring remote IoT platform solutions, you're in the right place. Let’s face it—managing SSH keys on your Raspberry Pi can sometimes feel like unraveling a complex puzzle. But don’t sweat it! This guide will walk you through everything you need to know about setting up a secure, free remote IoT platform using SSH keys on your beloved Raspberry Pi. Trust me, by the end of this, you'll be rocking your IoT projects like a pro.
Now, why should you care about remote IoT platform SSH key management? Well, imagine being able to control your smart devices from anywhere in the world without worrying about security breaches. Sounds awesome, right? With the right setup, your Raspberry Pi becomes the powerhouse behind your IoT ecosystem, giving you the flexibility and control you crave. So, buckle up and let’s get started!
Before we dive deep into the nitty-gritty details, let’s set the stage. In this article, we’ll cover everything from understanding the basics of SSH keys to setting up a secure remote connection for your Raspberry Pi. Whether you’re a beginner or an advanced user, there’s something here for everyone. Plus, we’ll make sure everything is free and easy to implement, so no need to break the bank. Ready? Let’s go!
What is a Remote IoT Platform and Why Should You Care?
A remote IoT platform is essentially the backbone of your smart device network. Think of it as the brain that connects all your gadgets and allows them to communicate with each other seamlessly. When you’re managing IoT devices remotely, having a solid platform is crucial. It ensures that your devices stay connected, secure, and functional no matter where you are.
Now, here’s the kicker: when you’re dealing with IoT, security is everything. That’s where SSH keys come into play. By setting up SSH keys on your Raspberry Pi, you’re adding an extra layer of protection to your remote IoT platform. This means that even if someone tries to hack into your system, they’ll have a tough time getting past your secure SSH connection.
Benefits of Using SSH Keys for Your Raspberry Pi
Let’s break down why SSH keys are such a game-changer for Raspberry Pi users:
- Enhanced Security: SSH keys provide a more secure method of authentication compared to traditional passwords.
- Convenience: Once set up, SSH keys allow you to log in to your Raspberry Pi without entering a password every time.
- Scalability: If you’re managing multiple IoT devices, SSH keys make it easier to maintain secure connections across the board.
- Cost-Effective: The best part? Setting up SSH keys is completely free, making it an excellent option for budget-conscious tech enthusiasts.
Understanding SSH Keys: The Backbone of Secure Connections
Alright, let’s get technical for a moment. SSH (Secure Shell) keys are a pair of cryptographic keys used to authenticate users when logging into a remote server. There are two types of keys: the public key and the private key. The public key is shared with the server, while the private key remains securely on your local machine. When you try to connect to your Raspberry Pi, the server checks the public key against your private key to ensure you’re who you say you are.
Setting up SSH keys might sound intimidating at first, but trust me, it’s simpler than it seems. Plus, once you’ve got it down, you’ll wonder how you ever managed without it. So, let’s dive into the step-by-step process of generating and configuring SSH keys for your Raspberry Pi.
Step-by-Step Guide: Generating SSH Keys for Raspberry Pi
Here’s how you can generate SSH keys and set up a secure connection for your Raspberry Pi:
- Install OpenSSH: First things first, make sure OpenSSH is installed on your Raspberry Pi. You can do this by running the command
sudo apt-get install openssh-server. - Generate SSH Keys: Use the
ssh-keygencommand to generate your SSH key pair. By default, this will create RSA keys, but you can specify other types if needed. - Copy Public Key to Raspberry Pi: Use the
ssh-copy-idcommand to copy your public key to the Raspberry Pi. This ensures that the server recognizes your key when you try to connect. - Test the Connection: Try logging into your Raspberry Pi using the
sshcommand. If everything is set up correctly, you should be able to log in without entering a password.
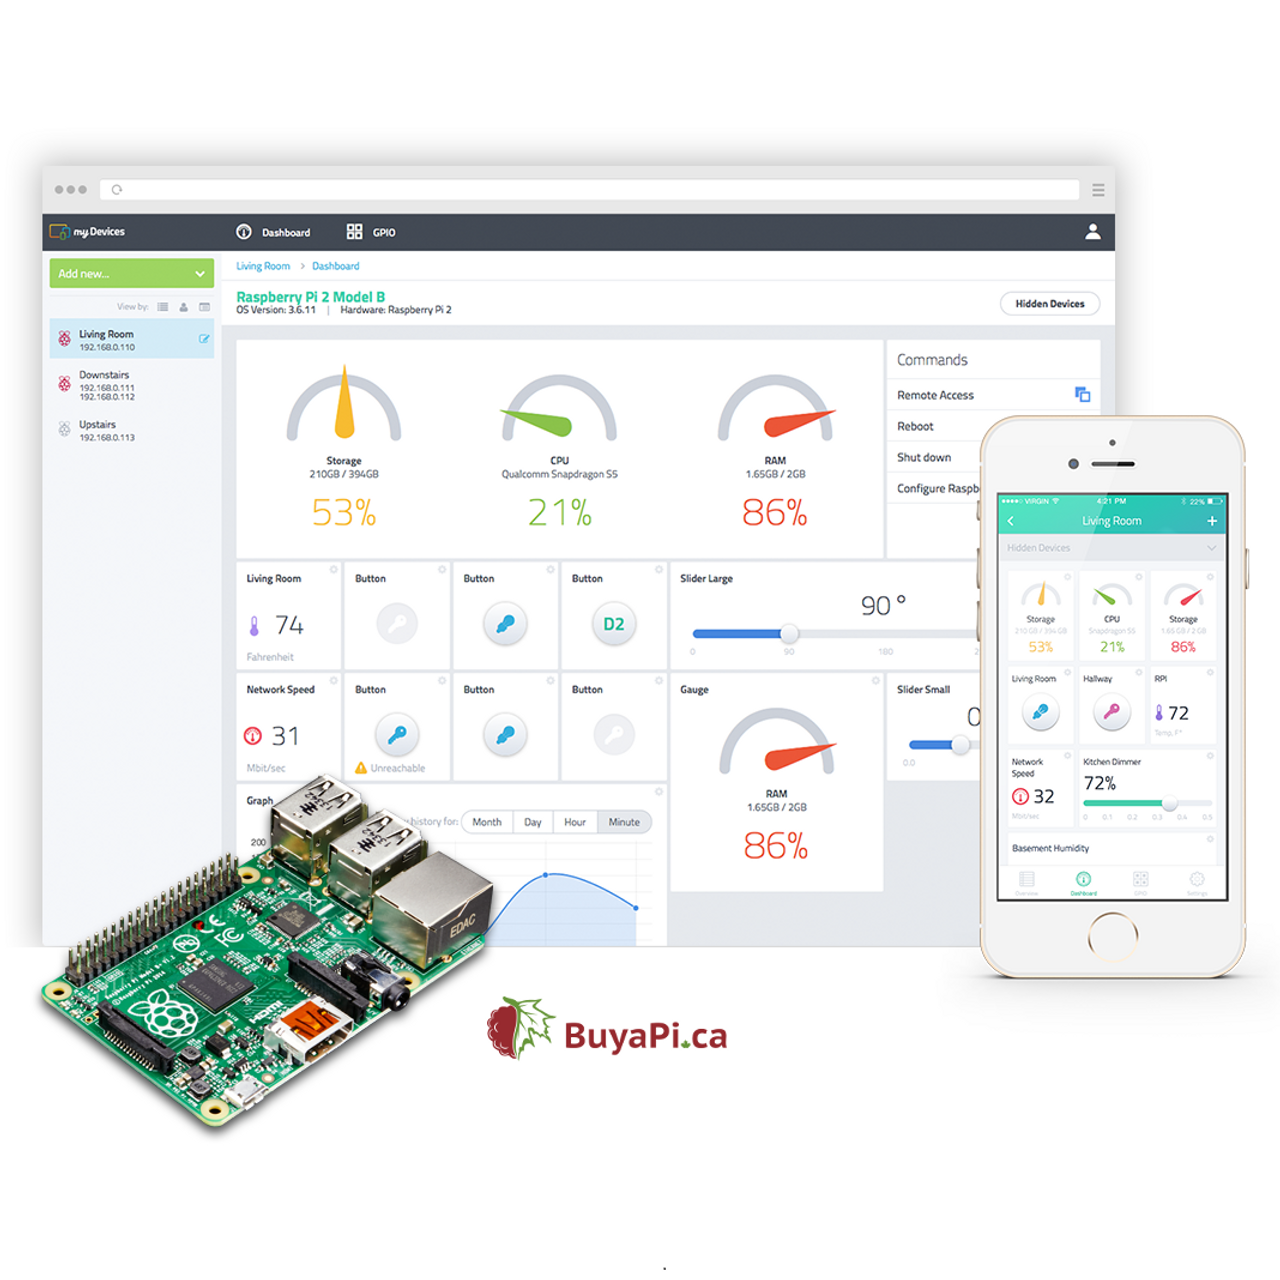
Setting Up a Free Remote IoT Platform
Now that you’ve got your SSH keys sorted, let’s talk about setting up a free remote IoT platform. There are several options available, but for this guide, we’ll focus on using platforms that are beginner-friendly and won’t cost you a dime.
Popular Free IoT Platforms
Here are some of the top free IoT platforms you can use with your Raspberry Pi:
- Adafruit IO: A user-friendly platform that offers free tier options for hobbyists and beginners.
- ThingsBoard: An open-source IoT platform that allows you to monitor and manage your devices from a centralized dashboard.
- Losant: A powerful platform with a free tier that supports a wide range of IoT applications.
Each of these platforms has its own strengths and weaknesses, so it’s worth exploring them to see which one suits your needs best. For most users, Adafruit IO is a great starting point due to its simplicity and ease of use.
Best Practices for Managing SSH Keys
Setting up SSH keys is just the beginning. To ensure your remote IoT platform remains secure, it’s important to follow some best practices:
- Use Strong Keys: Always generate strong SSH keys with a sufficient key length (e.g., 2048 or 4096 bits).
- Limit Access: Restrict SSH access to only the necessary users and IP addresses.
- Regularly Update Keys: Periodically rotate your SSH keys to minimize the risk of unauthorized access.
- Enable Two-Factor Authentication: For an extra layer of security, consider enabling two-factor authentication (2FA) on your Raspberry Pi.
Common SSH Key Issues and How to Fix Them
Even with the best intentions, things can sometimes go wrong. Here are some common SSH key issues and how to resolve them:
- Permission Denied (Public Key): This usually happens if your public key isn’t correctly copied to the server. Double-check the
~/.ssh/authorized_keysfile on your Raspberry Pi. - Connection Timeout: Ensure that your Raspberry Pi is connected to the internet and that the SSH service is running.
- Key Mismatch: If you’ve regenerated your SSH keys, make sure to update the public key on the server.
Securing Your Remote IoT Platform
Security should always be at the forefront of your mind when managing a remote IoT platform. Here are some tips to keep your system safe:
- Use Strong Passwords: Even with SSH keys, it’s a good idea to use strong, unique passwords for your Raspberry Pi.
- Regularly Update Software: Keep your Raspberry Pi’s operating system and software up to date to patch any security vulnerabilities.
- Monitor Logs: Regularly check your SSH logs for any suspicious activity.
Advanced Security Measures
If you’re feeling adventurous, here are some advanced security measures you can implement:
- Disable Password Authentication: Once you’ve set up SSH keys, consider disabling password authentication altogether.
- Use a Firewall: Configure a firewall to block unauthorized access to your Raspberry Pi.
- Enable Intrusion Detection: Tools like Fail2Ban can help detect and block malicious login attempts.
Real-World Applications of Remote IoT Platforms
So, how can you apply this knowledge in real-world scenarios? Here are a few examples:
- Smart Home Automation: Use your Raspberry Pi to control smart lights, thermostats, and security systems from anywhere in the world.
- Environmental Monitoring: Set up sensors to monitor temperature, humidity, and air quality, and access the data remotely.
- Industrial IoT: Implement IoT solutions in manufacturing and logistics to improve efficiency and reduce costs.
Case Studies and Success Stories
Let’s take a look at some real-world success stories:
- Smart Farming: A farmer in rural India used a Raspberry Pi-based IoT system to monitor soil moisture levels and automate irrigation, resulting in a 30% increase in crop yield.
- Energy Management: A small business owner in the UK implemented an IoT platform to track energy consumption and reduce costs by optimizing usage patterns.
Conclusion: Taking Your IoT Projects to the Next Level
And there you have it—a comprehensive guide to setting up a secure, free remote IoT platform using SSH keys on your Raspberry Pi. By following the steps outlined in this article, you’ll be well on your way to creating innovative IoT solutions that meet your needs and exceed your expectations.
Remember, security is key (pun intended) when it comes to managing remote IoT platforms. Always follow best practices and stay informed about the latest trends and technologies in the IoT space. And most importantly, don’t forget to have fun while exploring the endless possibilities of IoT!
So, what are you waiting for? Grab your Raspberry Pi, generate those SSH keys, and start building the IoT platform of your dreams. Don’t forget to share your experiences and projects in the comments below. Happy tinkering!
Table of Contents
- What is a Remote IoT Platform and Why Should You Care?
- Understanding SSH Keys: The Backbone of Secure Connections
- Setting Up a Free Remote IoT Platform
- Best Practices for Managing SSH Keys
- Securing Your Remote IoT Platform
- Real-World Applications of Remote IoT Platforms
- Conclusion: Taking Your IoT Projects to the Next Level
- Benefits of Using SSH Keys for Your Raspberry Pi
- Step-by-Step Guide: Generating SSH Keys for Raspberry Pi
- Popular Free IoT Platforms
- Common SSH Key Issues and How to Fix Them
- Advanced Security Measures
- Case Studies and Success Stories


 and exploring remote IoT platform solutions, you're in the right place.)