Best Raspberry Pi Remote IoT Setup For Your Smart Home Projects
Hey there, tech enthusiasts and DIY wizards! If you're diving headfirst into the world of IoT (Internet of Things) and looking to build the best Raspberry Pi remote IoT setup, you're in the right place. Whether you're building a smart home, automating your garden, or even creating a weather station, Raspberry Pi is your golden ticket to making it all happen. But let’s face it—getting started can feel overwhelming, especially when you're bombarded with endless options and tech jargon. Don’t sweat it; we’ve got you covered!
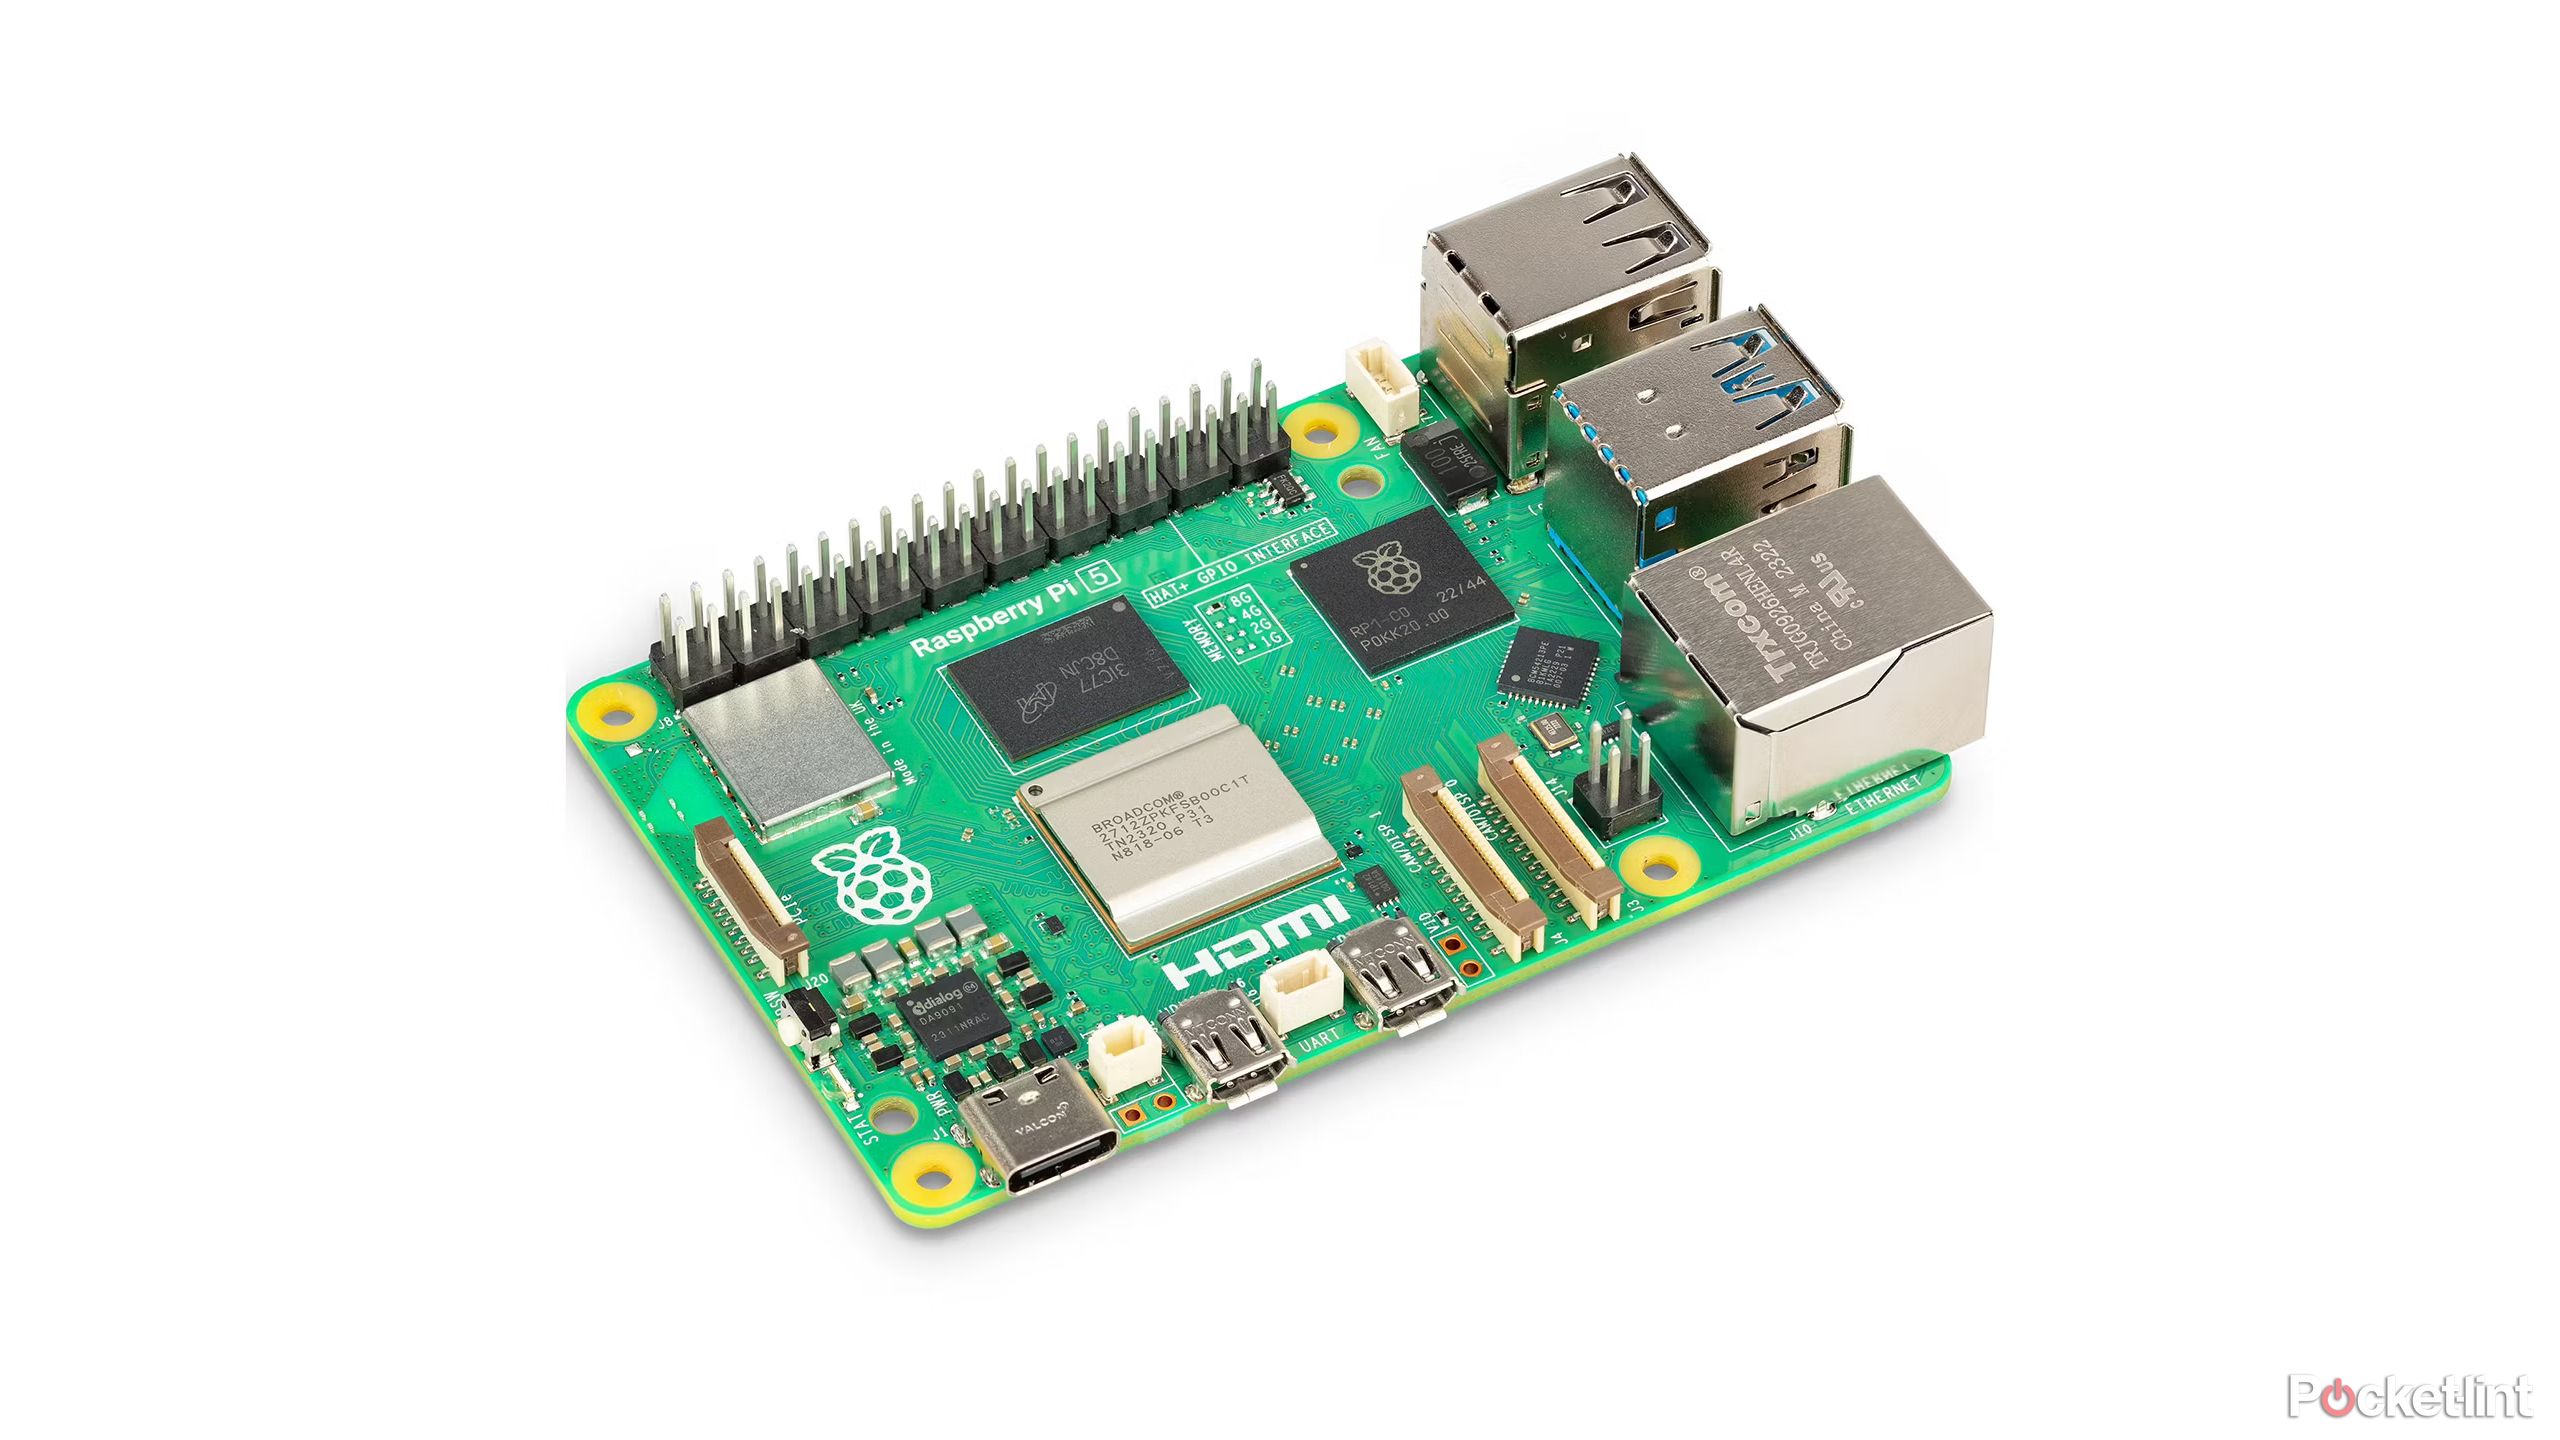
Now, here’s the deal: Raspberry Pi isn’t just another gadget. It’s a powerhouse that can transform your wildest tech dreams into reality. With its compact size, versatility, and affordability, it’s no wonder why it’s become the go-to device for hobbyists and professionals alike. But to make the most out of it, you need to know which tools, accessories, and strategies work best for remote IoT projects. That’s exactly what we’ll be diving into today.
By the time you finish this article, you’ll have a solid understanding of the best Raspberry Pi remote IoT setup, complete with tips, tricks, and recommendations to make your project a success. So grab a cup of coffee, sit back, and let’s get started. Trust me, you’re gonna love this!
Table of Contents
- Introduction to Raspberry Pi Remote IoT
- Raspberry Pi Basics: What You Need to Know
- Setting Up Remote Access for Your Raspberry Pi
- Best IoT Devices Compatible with Raspberry Pi
- Top Software Options for Raspberry Pi IoT Projects
- Ensuring Security in Your Raspberry Pi Remote IoT Setup
- Creative Raspberry Pi Remote IoT Project Ideas
- Common Troubleshooting Tips for Remote IoT
- Cost Analysis: Building an Affordable Raspberry Pi IoT Setup
- Wrapping It Up: Your Next Steps
Introduction to Raspberry Pi Remote IoT
Alright, let’s kick things off with the basics. When we talk about Raspberry Pi remote IoT, we’re referring to using this tiny but mighty device to control, monitor, and interact with IoT devices from anywhere in the world. Imagine being able to adjust your home thermostat, check your security cameras, or water your plants—all from your phone or laptop. Sounds pretty cool, right?
But here’s the thing: setting up a remote IoT system isn’t as simple as plugging in a few cables. You need the right hardware, software, and a solid plan to ensure everything runs smoothly. In this section, we’ll break down what makes a great Raspberry Pi remote IoT setup and why it’s worth investing in.
Before we dive deeper, let’s clarify why Raspberry Pi is the king of IoT. It’s not just about its affordability; it’s also about its flexibility. Whether you’re a beginner or a seasoned pro, Raspberry Pi offers endless possibilities for innovation. Plus, with a massive community backing it up, you’ll never run out of resources or support. So, are you ready to level up your IoT game?
Raspberry Pi Basics: What You Need to Know
Understanding the Different Models
First things first: not all Raspberry Pi models are created equal. Depending on your project requirements, you’ll need to choose the right one. Here’s a quick rundown of the most popular models:
- Raspberry Pi 4 Model B: The powerhouse of the family, ideal for heavy-duty IoT projects.
- Raspberry Pi Zero W: Compact, affordable, and perfect for lightweight tasks.
- Raspberry Pi 3 Model B+: A solid choice for mid-range projects with built-in Wi-Fi and Bluetooth.
Each model has its own strengths, so pick the one that aligns with your project’s needs. And hey, don’t forget about the accessories! A good power supply, microSD card, and case are essential for a stable setup.
Setting Up Remote Access for Your Raspberry Pi
Why Remote Access Matters
Remote access is the backbone of any successful Raspberry Pi IoT project. Without it, you’d have to physically interact with your device every time you want to make changes. Sounds inconvenient, doesn’t it? That’s why setting up remote access is crucial.
There are several ways to achieve this, including:
- SSH (Secure Shell): Allows you to control your Raspberry Pi from another device via the command line.
- VNC (Virtual Network Computing): Provides a graphical interface for remote control.
- Web Interfaces: Perfect for projects that require user-friendly dashboards.
No matter which method you choose, make sure to secure your connection with strong passwords and encryption. Trust me, you don’t want random strangers messing with your smart home setup.
Best IoT Devices Compatible with Raspberry Pi
Building a Dream Team of IoT Devices
Now that you’ve got your Raspberry Pi ready, it’s time to pair it with the right IoT devices. Here are some of the best options available:
- Temperature and Humidity Sensors: Ideal for monitoring environmental conditions.
- Smart Cameras: Perfect for home security and surveillance.
- Relay Modules: Great for controlling appliances and lights remotely.
Remember, compatibility is key. Make sure your chosen devices work seamlessly with your Raspberry Pi model to avoid headaches down the line.
Top Software Options for Raspberry Pi IoT Projects
Powering Your Projects with the Right Software
Software plays a huge role in determining the success of your Raspberry Pi remote IoT setup. Here are some top options to consider:
- Home Assistant: A popular open-source platform for managing smart home devices.
- Node-RED: A flow-based programming tool that simplifies IoT development.
- MQTT: A lightweight messaging protocol ideal for IoT communication.
These tools not only make your life easier but also enhance the functionality of your projects. Experiment with them to find what works best for you.
Ensuring Security in Your Raspberry Pi Remote IoT Setup
Protecting Your Data and Devices
Security should always be a top priority when working with IoT. With so many devices connected to the internet, the risk of cyberattacks increases exponentially. Here are some tips to keep your setup safe:
- Use Strong Passwords: Avoid using common or easily guessable passwords.
- Enable Firewall Protection: Block unauthorized access to your network.
- Keep Software Updated: Regularly update your operating system and applications to patch vulnerabilities.
By following these best practices, you can rest assured knowing your data and devices are protected.
Creative Raspberry Pi Remote IoT Project Ideas
Let Your Imagination Run Wild
Still not sure what to build? Here are some creative Raspberry Pi remote IoT project ideas to inspire you:
- Smart Garden System: Automate watering, lighting, and monitoring for your plants.
- DIY Weather Station: Collect and analyze weather data in real-time.
- Remote-Controlled Robot: Build a robot you can control via your phone or laptop.
The possibilities are endless, so don’t be afraid to experiment and push the boundaries of what’s possible.
Common Troubleshooting Tips for Remote IoT
Solving Problems Before They Become Nightmares
Even the best-laid plans can go awry sometimes. Here are some common issues you might encounter and how to fix them:
- Connection Issues: Check your Wi-Fi settings and ensure your device is properly connected.
- Software Errors: Reinstall or update your software to resolve compatibility issues.
- Hardware Failures: Inspect your cables and components for any signs of damage.
With these troubleshooting tips in your arsenal, you’ll be able to tackle most problems with ease.
Cost Analysis: Building an Affordable Raspberry Pi IoT Setup
Making Your Budget Stretch Further
Let’s talk money. While Raspberry Pi is relatively affordable, the cost can add up quickly when you factor in accessories and IoT devices. Here’s a rough breakdown of what you might expect to spend:
- Raspberry Pi: $35–$50
- Accessories: $20–$50
- IoT Devices: Varies depending on the type and quantity
By planning your purchases carefully and opting for cost-effective solutions, you can build a powerful IoT setup without breaking the bank.
Wrapping It Up: Your Next Steps
And there you have it—a comprehensive guide to the best Raspberry Pi remote IoT setup. From understanding the basics to troubleshooting common issues, we’ve covered everything you need to know to get started on your IoT journey. Remember, the key to success lies in preparation, experimentation, and perseverance.
So what are you waiting for? Grab your Raspberry Pi, gather your tools, and start building your dream IoT projects. And don’t forget to share your progress with the world. Who knows? Your next project might just inspire someone else to take the leap into the exciting world of IoT.
Before you go, drop a comment below and let me know what kind of Raspberry Pi IoT projects you’re working on. I’d love to hear from you! Oh, and if you found this article helpful, feel free to share it with your friends and fellow tech enthusiasts. Together, let’s make the world a smarter place—one Raspberry Pi at a time!

 and looking to build the best Raspberry Pi re)